
Leftover wings can still hit hard if heat works smart. Wake the fat under the skin, dry the surface fast, and pull the center to 165°F.
Air fryer gives the quickest crunch; a hot oven rules for big trays; a microwave only helps as a first step before a hot finish.
Store within two hours, eat within three to four days, and toss hot wings with warm Buffalo sauce so flavor clings.
Safety Rules that Come First
Start with safety, then chase crunch. Pull every wing to 165°F in the center. A quick-read thermometer ends guesswork.
Federal guidelines set 165°F for all poultry and for reheated leftovers as well. Store cooked wings in the fridge and finish them within 3 to 4 days.
Poultry is linked to a large share of foodborne illness in the United States. CDC estimates that about 1 million illnesses per year are tied to poultry, and meat plus poultry account for 22 percent of all foodborne illnesses and 29 percent of deaths across major categories.
Verdict up Front
- Best overall for crisp: air fryer
- Best when many people wait at the table: oven
- Fastest: microwave, then finish in a hot air fryer or oven
- Weakest texture if used alone: microwave
Home tests and lab reviewers point to strong crisp power under air fry. Capacity and spacing decide success.
Crowd the basket, and the crunch falls off. Consumer Reports repeats that spacing and airflow set the bar for results.
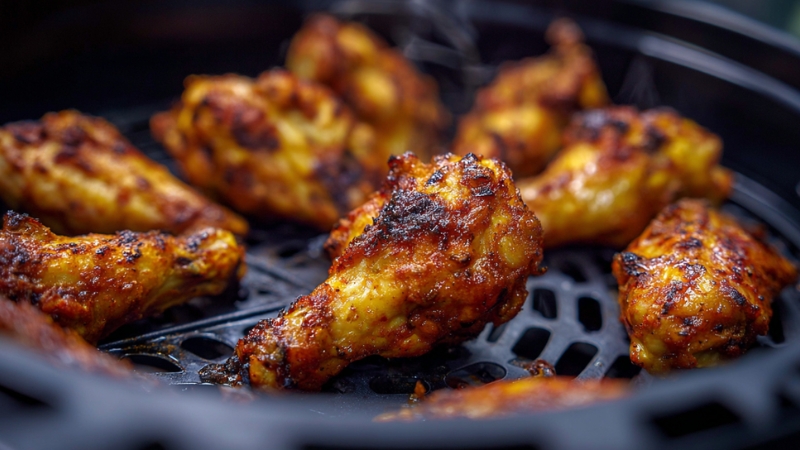
Method 1: Air Fryer
A compact fan moves hot air fast across the skin. Surface moisture evaporates in minutes. Fat in the skin loosens and helps the exterior set.
Test kitchens show elite skin when the heat stays high and the airflow stays unobstructed.
Step-By-Step
- Preheat the unit to 375 to 385°F.
- Dab the skin dry with paper towels.
- Lay wings in one layer with space between pieces.
- Heat 5 to 8 minutes for fridge-cold wings; flip once around halfway.
- Probe a thick drum. Pull when the center reads 165°F.
- Toss with warm Buffalo sauce and serve right away.
Wings vary in size. Basket size and wattage vary, too. The Kitchn’s test notes that air fryers cut time without sacrificing crunch when spacing and temperature are on point.
Pro Tips that Solve Common Snags
- Keep space between pieces. Airflow wins the crisp race.
- Use perforated parchment or a silicone liner only if the maker allows it at the target heat. Wax paper never fits high heat.
- Shake the basket or flip once for even browning.
- Work in batches. A second five-minute round beats a cramped basket every time.
When an Air Fryer Makes the Most Sense
- One or two plates after work
- Flats and drums with bare skin or a thin baked coating
- Maximum crunch in minimal time
Method 2: Oven
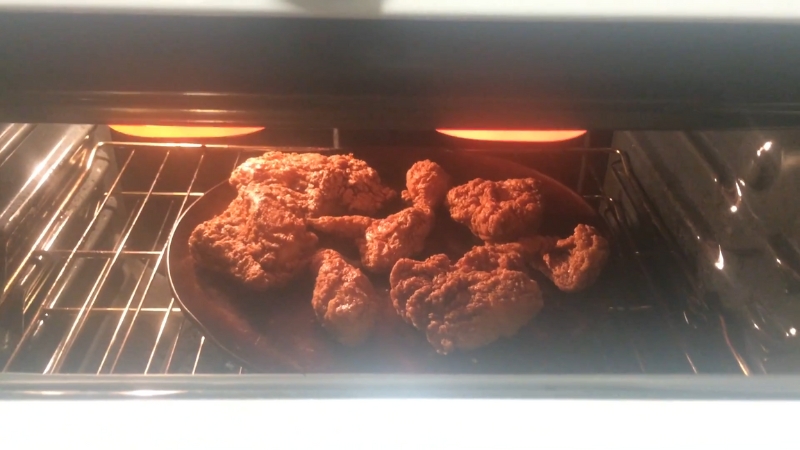
Dry, even heat wraps each piece. A wire rack keeps skin out of pooled fat and lets hot air circulate around the entire wing.
Serious Eats shows how a rack and high heat mimic a fry finish. Home economists at Martha Stewart back a similar approach with a 400°F zone and a rack set over a sheet.
Step-By-Step
- Move a rack to the upper-middle slot. Preheat to 425°F.
- Place a wire rack over a rimmed sheet pan.
- Space the wings in a single layer.
- Heat 10 to 15 minutes; flip around 7 minutes.
- Verify 165°F in the center of a thick piece.
- Toss with warm sauce or brush and return to the oven for 2 minutes to tack up.
Maytag and Whirlpool house brands offer similar home guidance for fried chicken pieces, calling for a hot oven, a rack, and a short reheat window. That general playbook fits wings as well.
Pro Tips that Protect Texture
- Pull the container from the fridge 15 minutes before heating to cut the chill.
- Use convection if the oven includes a fan.
- Watch color after minute ten; sugar in some sauces can darken fast.
- Keep the sauce warm on the stove and toss right before serving.
When the Oven Wins
- A family platter or game-day tray
- No air fryer on the counter
- Minimal hands-on work and easy cleanup
Method 3: Microwave
@vanessayvee Can’t go wrong with Buffalo Wild Wings leftovers 😜 #leftovers #wings #buffalowildwings #fyp ♬ Llorar – Los Socios Del Ritmo
Microwaves drive water molecules in the meat to vibrate, rapidly bringing the core to temperature and pushing steam under the skin, which softens the crust; a brief finish in a hot air fryer or a preheated oven restores crispness.
Step-By-Step
- Place wings on a microwave-safe plate lined with a paper towel.
- Heat 30 to 45 seconds for two to three wings to remove the chill.
- Move wings to a 375 to 385°F air fryer for 3 to 5 minutes or a 400 to 425°F oven for 4 to 6 minutes.
- Check 165°F with a thermometer.
- Toss with warm sauce and serve.
When Microwave Plus Finish Helps
- Late-night snack in a hurry
- Office kitchen with limited gear
- The time window is too tight for a full oven cycle
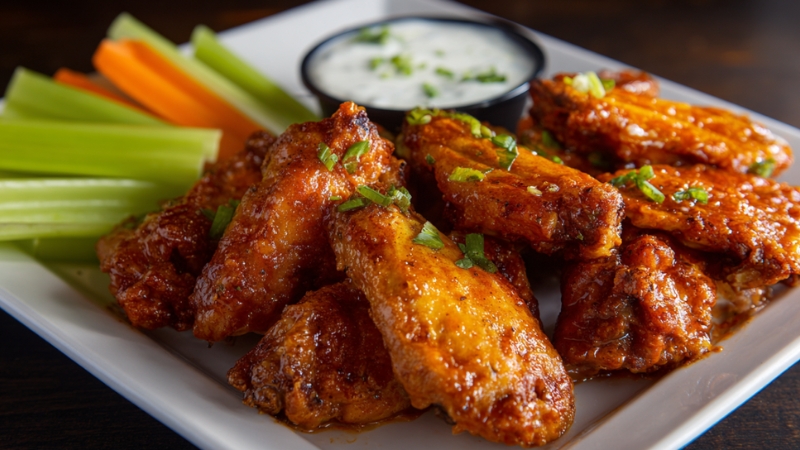
Sauce Strategy that Locks in Flavor
View this post on Instagram
Warm the Buffalo sauce in a small pan over gentle heat until the butter melts and the chill lifts. Toss the wings the moment they come out hot.
Warm sauce meets hot fat on the skin, and you get a glossy coat that clings instead of sliding off.
Buffalo sauce formula that never fails:
- 4 tbsp unsalted butter
- 1/2 cup Frank’s RedHot
- 1 tsp white vinegar
- 1/2 tsp garlic powder
- Pinch of salt if needed
Melt the butter, whisk in the hot sauce, vinegar, and garlic, then toss with hot wings and serve. A simple method that works perfectly for air-fried batches.
Time and Temperature Cheat-Sheet
Method
Preheat
Time for fridge-cold wings
Finish temp
Texture note
Air fryer
375–385°F
5–8 min, flip once
165°F
High crunch in a short time
Oven
425°F
10–15 min, flip once
165°F
Even heat for big trays
Microwave → Air fryer
30–45 sec → 375–385°F for 3–5 min
~5–7 min total
165°F
Rapid core heat, then crisp
Microwave → Oven
30–45 sec → 400–425°F for 4–6 min
~6–8 min total
165°F
Rapid core heat, then crisp
Freshness, Storage, and Refreeze Facts
- Move wings into the fridge within 2 hours after dinner.
- Eat within 3 to 4 days.
- Reheat to 165°F.
- A safe refreeze can follow a full reheat to 165°F and a quick chill, though quality can take a hit.
Factors that Change Outcomes
Skin or Breading Style
Dry-brined skin or a thin baked coating regains crunch faster. Thick breading traps steam and asks for a minute or two more in a hot, dry environment.
Sauce Load
A heavy coat before heating softens skin. Sauce after reheat preserves snap. For a sticky glaze, toss, go back to the heat for 2 minutes, then give a light second toss.
Size and Mass
Drums hold more meat and often need an extra minute compared with flats. A party tray belongs in an oven. A smaller basket works best for one or two plates.
Troubleshooting Guide
Skin reads 165°F yet still soft
- Move pieces closer to the air stream in the oven or the basket.
- Add 1 to 2 minutes at target heat.
- Rest on a rack for 2 minutes so the steam can leave the surface.
Uneven heat across the tray
- Rotate the sheet at the halfway mark.
- Put larger drums on the perimeter in an air fryer where the flow hits harder.
- Flip once for even color.
Dry meat
- Pull at 165°F and serve without delay.
- Toss with sauce right away to add moisture.
Sauce slides off
- Pat each piece dry before reheating.
- Warm the sauce before tossing. Cold sauce dulls cling.
Smart Liners and What Not to Use
Perforated parchment can help with cleanup and airflow when allowed by the maker. Never place parchment without food to hold it down. A strong fan can blow a loose sheet into the element.
Southern Living adds that wax paper does not belong in an air fryer due to heat limits. Aluminum foil can work in some units when placed only in the basket and weighed down. User manuals vary, so a quick check helps avoid airflow issues.
Game-Day Plan You Can Repeat
- Sort flats and drums.
- Pick the tool: air fryer for a couple of plates, oven for a crowd.
- Warm the sauce on the stove.
- Heat wings by the table above.
- Probe one piece for 165°F.
- Toss and serve at once.
- Keep the next batch unsauced at 200°F on a rack. Toss right before the next round leaves the kitchen.
Bottom Line
Air fryer wins for small batches and pure crunch. Oven steps in for a crowd and keeps results steady every time. Microwave earns a spot only as a jump-start; a hot finish in an air fryer or a 425°F oven brings back snap and color.
Many also weigh air fryer vs. oven on health grounds, since both can cut excess oil compared to deep frying, though air fryers edge ahead for lower fat use.
Safety stays non-negotiable. Chill leftovers within 2 hours, reheat to 165°F in the center, and finish the batch within 3 to 4 days. A quick-read thermometer ends guesswork and protects texture as well as health.
One last plate-ready routine seals the deal. Warm the Buffalo sauce on low, pull wings the moment they hit temp, toss fast, and serve right away.
Keep a second tray on a wire rack at 200°F, unsauced, ready for the next round. Simple moves, clean flavors, crisp skin that actually crackles.