If you’re like me and can’t get enough of homemade goodness, canning potatoes at home is an absolute game-changer. Whether you’re prepping for winter, stocking up your pantry, or simply trying to make meals easier on busy nights, having canned potatoes on hand is priceless.
Today, I’ll walk you through the process in a way that’s easy to follow. It doesn’t require a ton of experience, and you’ll find yourself confidently canning before you know it!
Gather Your Tools and Ingredients
Equipment
- Pressure Canner: Potatoes are a low-acid food, which means they need to be pressure canned to avoid any health risks.
- Canning Jars: Use pint or quart-sized jars, depending on how much you want to can in each batch.
- Lids and Rings: New lids are a must for proper sealing.
- Jar Lifter: This makes it easier and safer to handle hot jars.
- Ladle, Funnel, and Bubble Remover: A funnel helps keep things tidy, and a bubble remover ensures there’s no trapped air.
Ingredients
- Fresh Potatoes: Choose starchy potatoes like russets or waxy ones like Yukon Gold. Avoid using the ones with green patches or sprouts, as these may contain harmful compounds.
- Salt (optional): Adding salt is optional but can help preserve texture and add flavor.
- Water: For filling the jars. Use filtered water if possible for a cleaner taste.
Prepare the Potatoes
Peel and Cut
Aim for consistency so they cook evenly.
Parboil the Potatoes
Parboiling, or partially boiling, is key for canning potatoes. Boil a large pot of water, add your cut potatoes, and let them cook for about 2 minutes. This step helps preserve texture and color in the canning process.
Prepare Jars and Lids
While your potatoes cool down, sterilize your jars. Start by washing them in hot, soapy water, then place them in boiling water or a warm oven for 10-15 minutes.[/su_note]
For the lids, heat them in a small pot of water (don’t boil them) to soften the rubber seal.
This step makes it easier for the lids to adhere to the jars later.
Fill the Jars

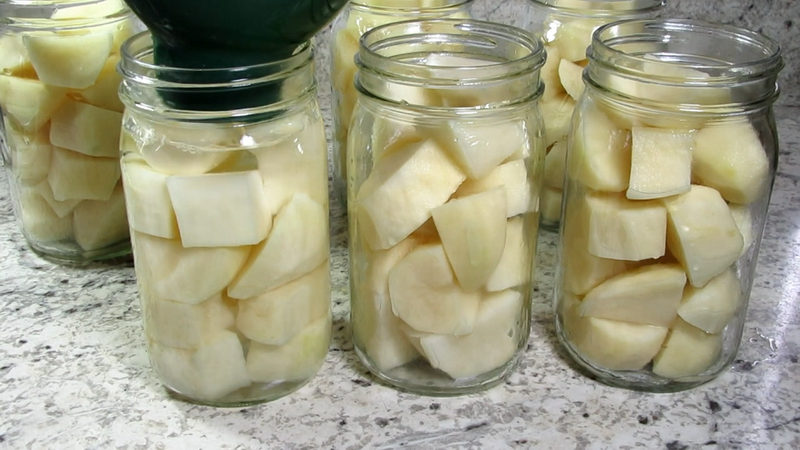
- Fill the Jars: Place the potatoes into your jars, leaving about 1 inch (2.54 cm) of headspace at the top. The headspace is essential for proper sealing during canning.
- Add Salt (Optional): If you’re using salt, add about 1/2 teaspoon for pints or 1 teaspoon for quarts.
- Add Boiling Water: Use a ladle to fill the jars with boiling water, again leaving that crucial 1-inch headspace. Make sure your potatoes are fully covered but not overcrowded.
- Remove Air Bubbles: Slide a bubble remover or a clean knife along the inside of the jar to release any trapped air. Trapped air can affect the shelf life and safety of your canned potatoes.
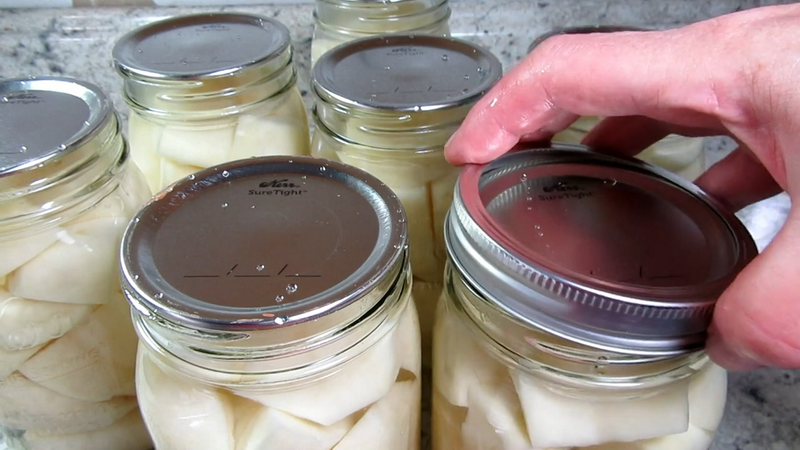
- Wipe the Rim and Seal: Use a clean, damp cloth to wipe the jar rims. Place the warmed lid on top and secure it with a ring, but don’t overtighten—just fingertip tight.
Process in the Pressure Canner
Since potatoes are low-acid, they require pressure canning to ensure they’re safe for long-term storage.
Set Up Your Canner
Place the jars on the rack inside the canner.
Seal and Vent

Lock the lid and let steam escape for about 10 minutes.
Cool and Remove Jars
Once the canner depressurizes, carefully remove the jars with your jar lifter. Let them cool on a towel or cooling rack for 12-24 hours, undisturbed.
Check the Seal
A pantry or basement shelf works well. When stored properly, canned potatoes can last up to a year, making them a great option for long-term storage.
Tips for Enjoying Your Canned Potatoes
Here are some quick ways to enjoy canned potatoes:
- Quick Mashed Potatoes: Drain, mash, add butter and milk—instant creamy goodness.
- Crispy Roasted Potatoes: Drain, season, and toss with oil, then roast in the oven until golden.
- Easy Potato Soup: Just add the your favorite broth, along with some onions, garlic, and seasoning.
- Potato Salad: Drain, let them cool, and mix with your favorite dressing, herbs, and veggies.
Troubleshooting Common Issues
Even with the best care, sometimes issues pop up. Here’s a quick guide to handling the most common ones:
Cloudy Liquid
Usually caused by starch, which isn’t harmful. Rinsing your potatoes before parboiling can help reduce starch content.
Floating Potatoes
If your potatoes are floating, it might be due to trapped air or under-packing. This doesn’t affect safety, but it can impact texture.
Jar Didn’t Seal
If a jar didn’t seal, refrigerate it and use it within a few days. For long-term storage, try reprocessing within 24 hours.
Final Thoughts
Imagine the joy of reaching for a jar of perfectly cooked potatoes, knowing they’re from your own hands. You’ll love the convenience, taste, and sense of accomplishment every time you open a jar.

